Maternity Photos Prep Guide
Welcome!
Thank you so much for choosing Allison Patel Photography, and trusting me to document your family’s love and connection. My goal is to help you fill your home with true images of your favorite people, and this guide will help walk you through the prep.
Whether this is your first or fifteenth maternity photo session, you’ll have all the info you need to be ready for it. And of course, if the guide doesn’t answer a question you have, I’m available via phone/text at 804-286-0314, or via email at allison@allisonpatelphoto.com.
Let’s get started!
Pre-session Prep
Location, location, location
At this point, we’ve already decided on a location - either at your home or out around RVA.
Third-party location prep
If we’re meeting at a park or other RVA location, there’s very little you’ll need to do to prep ahead of time. I’ll cover this in wardrobe below, but I recommend wearing comfortable shoes, as our location will include a bit of walking and moving around.
Your home prep
If we’re meeting at your home, you’ve got some homework (get it? home work).
Ahead of our session, do a general sweep of your home for clutter. We could photograph in any windowed room of your house. I’ll do a walk through when I arrive so we can choose the best place(s) for our session, and we won’t want to spend our time cleaning up stacks of papers or shoving baby equipment out of the way. Go ahead and store the clutter in a closet, cabinet, or drawer, or in a windowless room.
Open the curtains and blinds in each room, and turn off all overhead lights and lamps. The sun will be our guide for the best rooms and spots to photograph.
You do not need to redecorate your house for our session; I’ll be focused on the people, not the things. We just want to remove distracting elements that you wouldn’t want photographed.
Mental prep
Mentally prepping for your maternity photos might not be on your list of to-dos along with haircuts (no less than a week before our session) or searching for outfits (see below), but it’s possibly the most important. You’ve been ready for maternity photos since you got pregnant. You’re excited, but your spouse and/or kids may not be excited, or even aware that this is coming. Here are some tips to get everyone on the same page:
Tell the kids in advance. The same way you tell them when their grandparents are coming to visit, with time for them to get excited. Talk about the fun you’ll have together, the location if we’re going out, the activities if we’re staying in, and make it sound fun, not like something to dread. I’ve had many toddlers jump out of cars and yell “HELLO MS. ALLI!!!” the very first time they’ve met me, due to the excellent prep work of their parents.
Tell your spouse. Deliberately, and repeatedly. Get their input on wardrobe, block the session time off on their calendar, and share with them what you hope to get out of it. (If you have older kids who understand adult concepts like expectations, feel free to share with them as well). Again, keep it light. “I want us to have fun and get some photos of us having a good time together” is a realistic, clear expectation.
Fill out your maternity questionnaire. Two weeks before your session, I will email you a questionnaire that asks you questions about your expectations for the session. Lay it all on me. What you want and don’t want. If there’s anything unrealistic in your answers, I’ll let you know ahead of time so we can adjust the expectations and no one is surprised or disappointed.
Anticipate that it will go well, and focus on that outcome. It might seem silly, but if you’re anxious that it will go poorly, your body language will tighten, and it will be harder to get the photos we want to get. We’re going to have a great time! You can combat the jitters with some deep breathing exercises like box breathing.
Wardrobe
Do:
Choose comfortable, well-fitting clothing for each person.
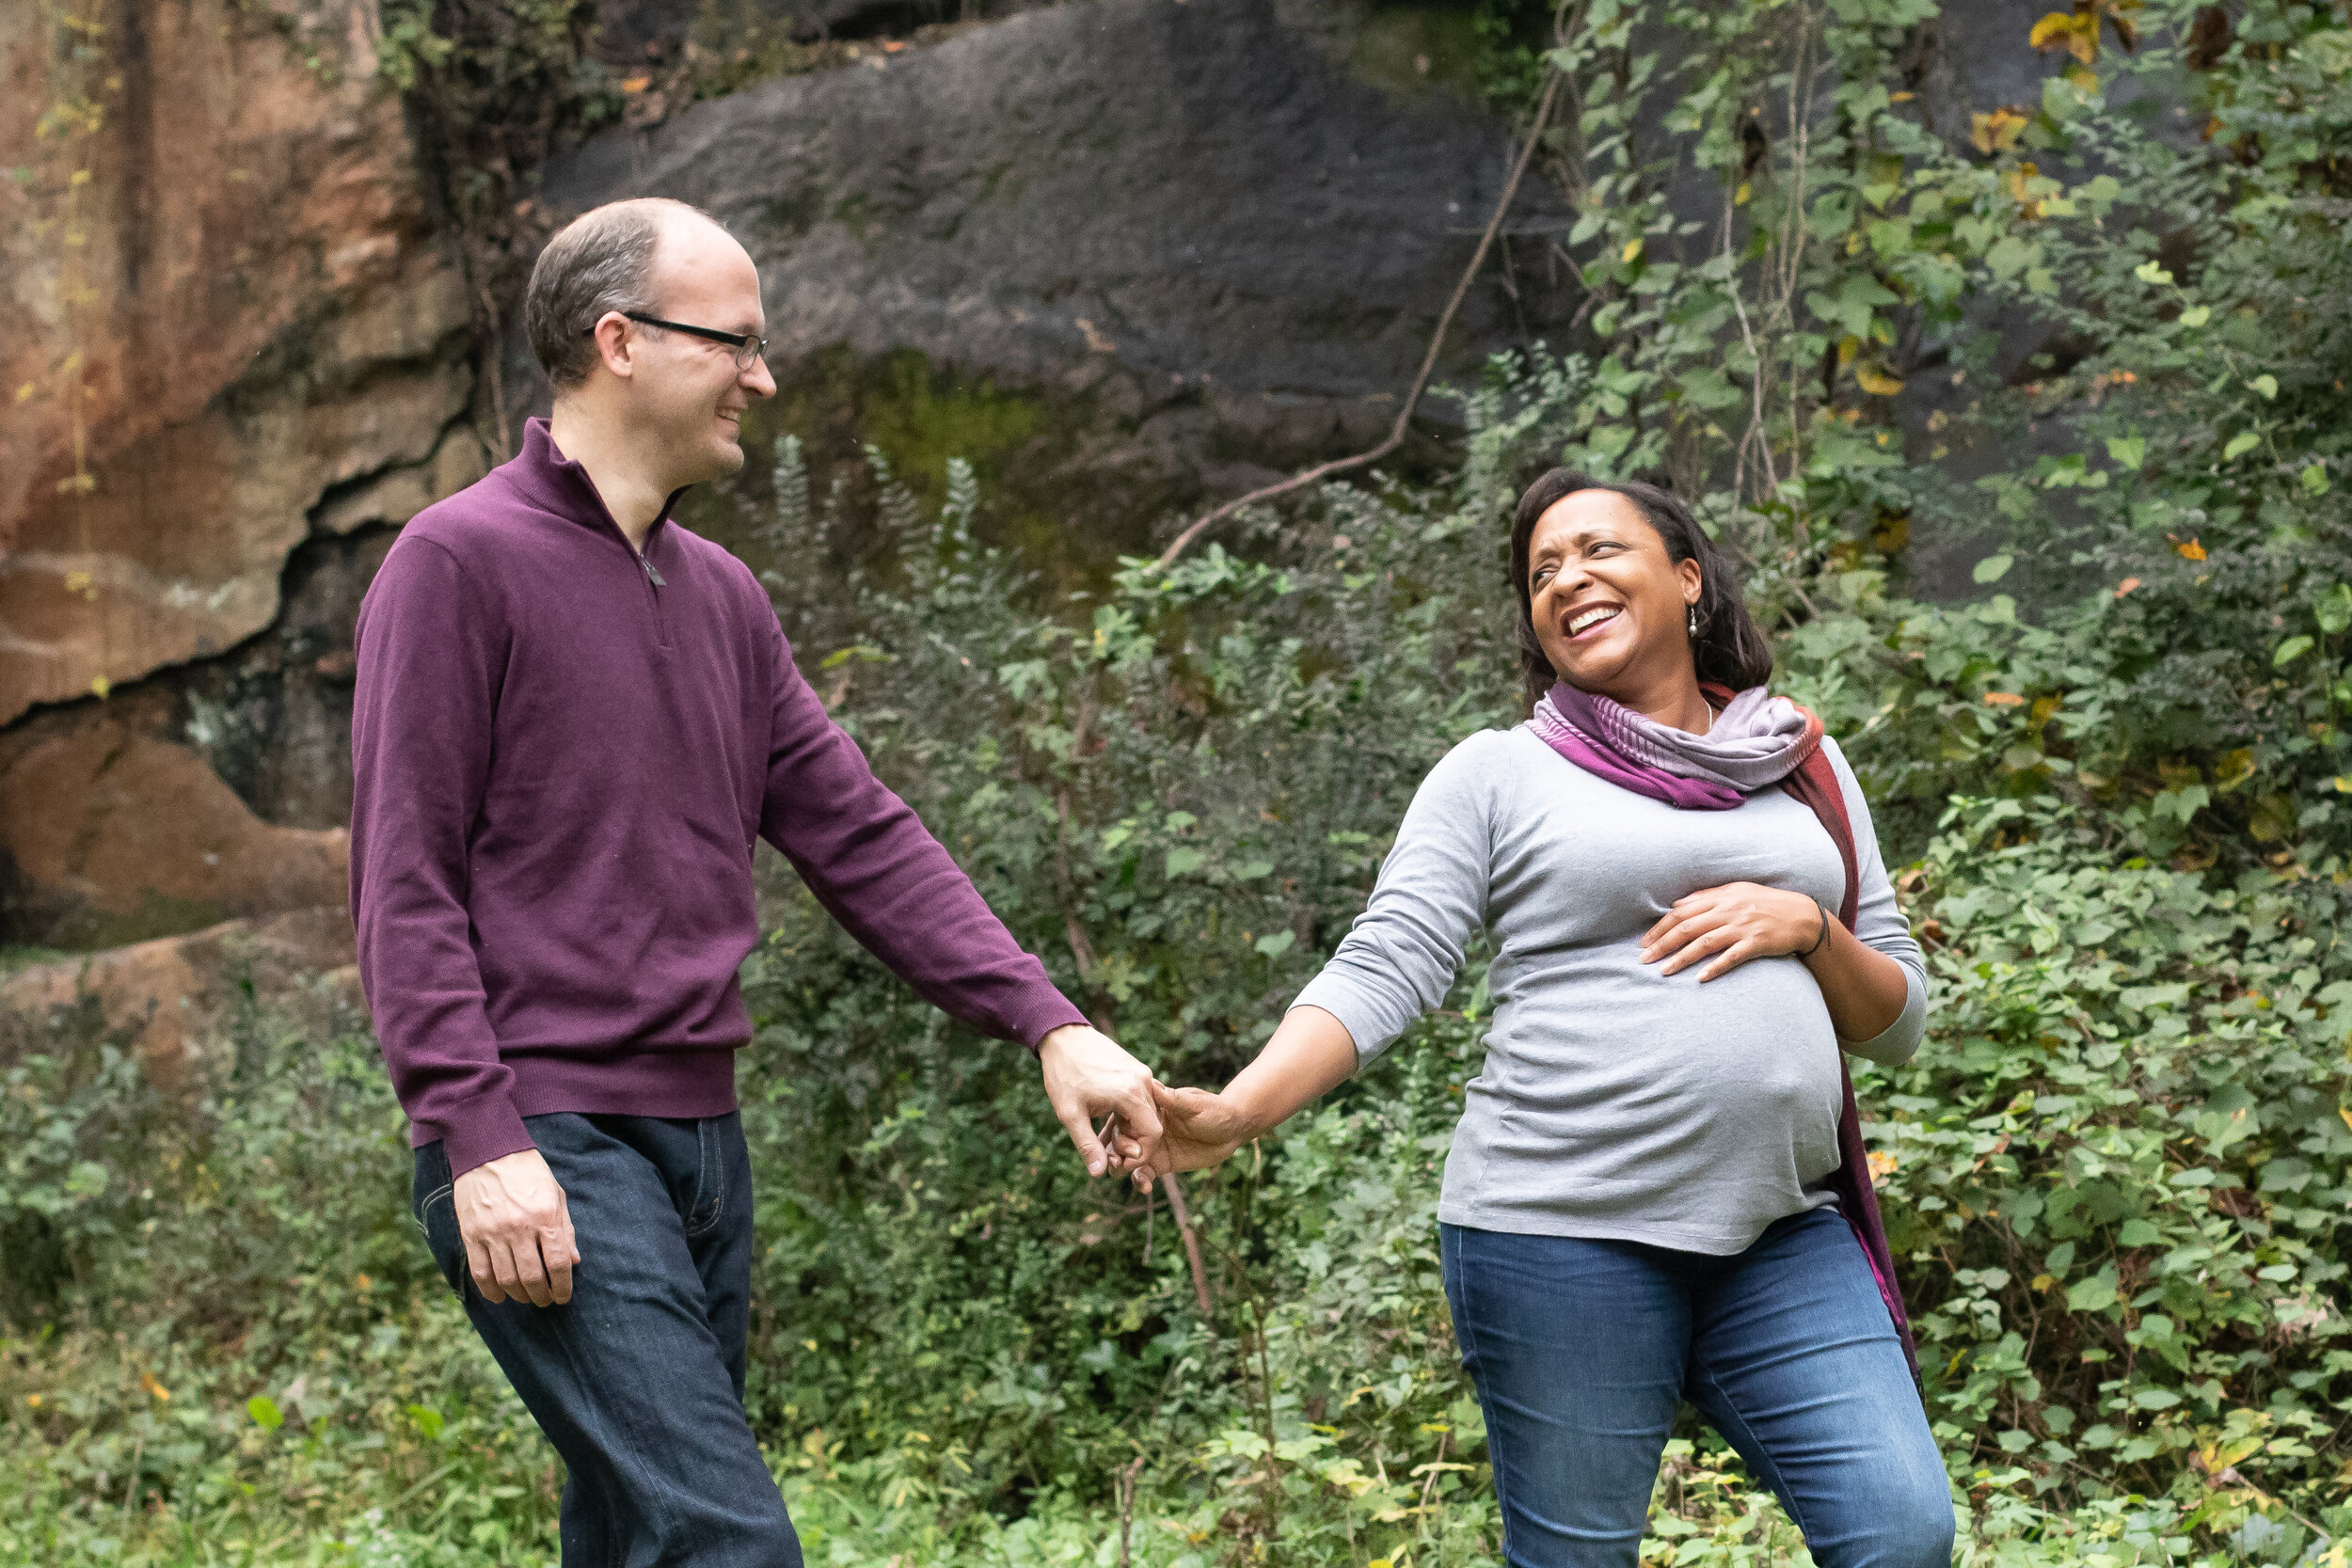
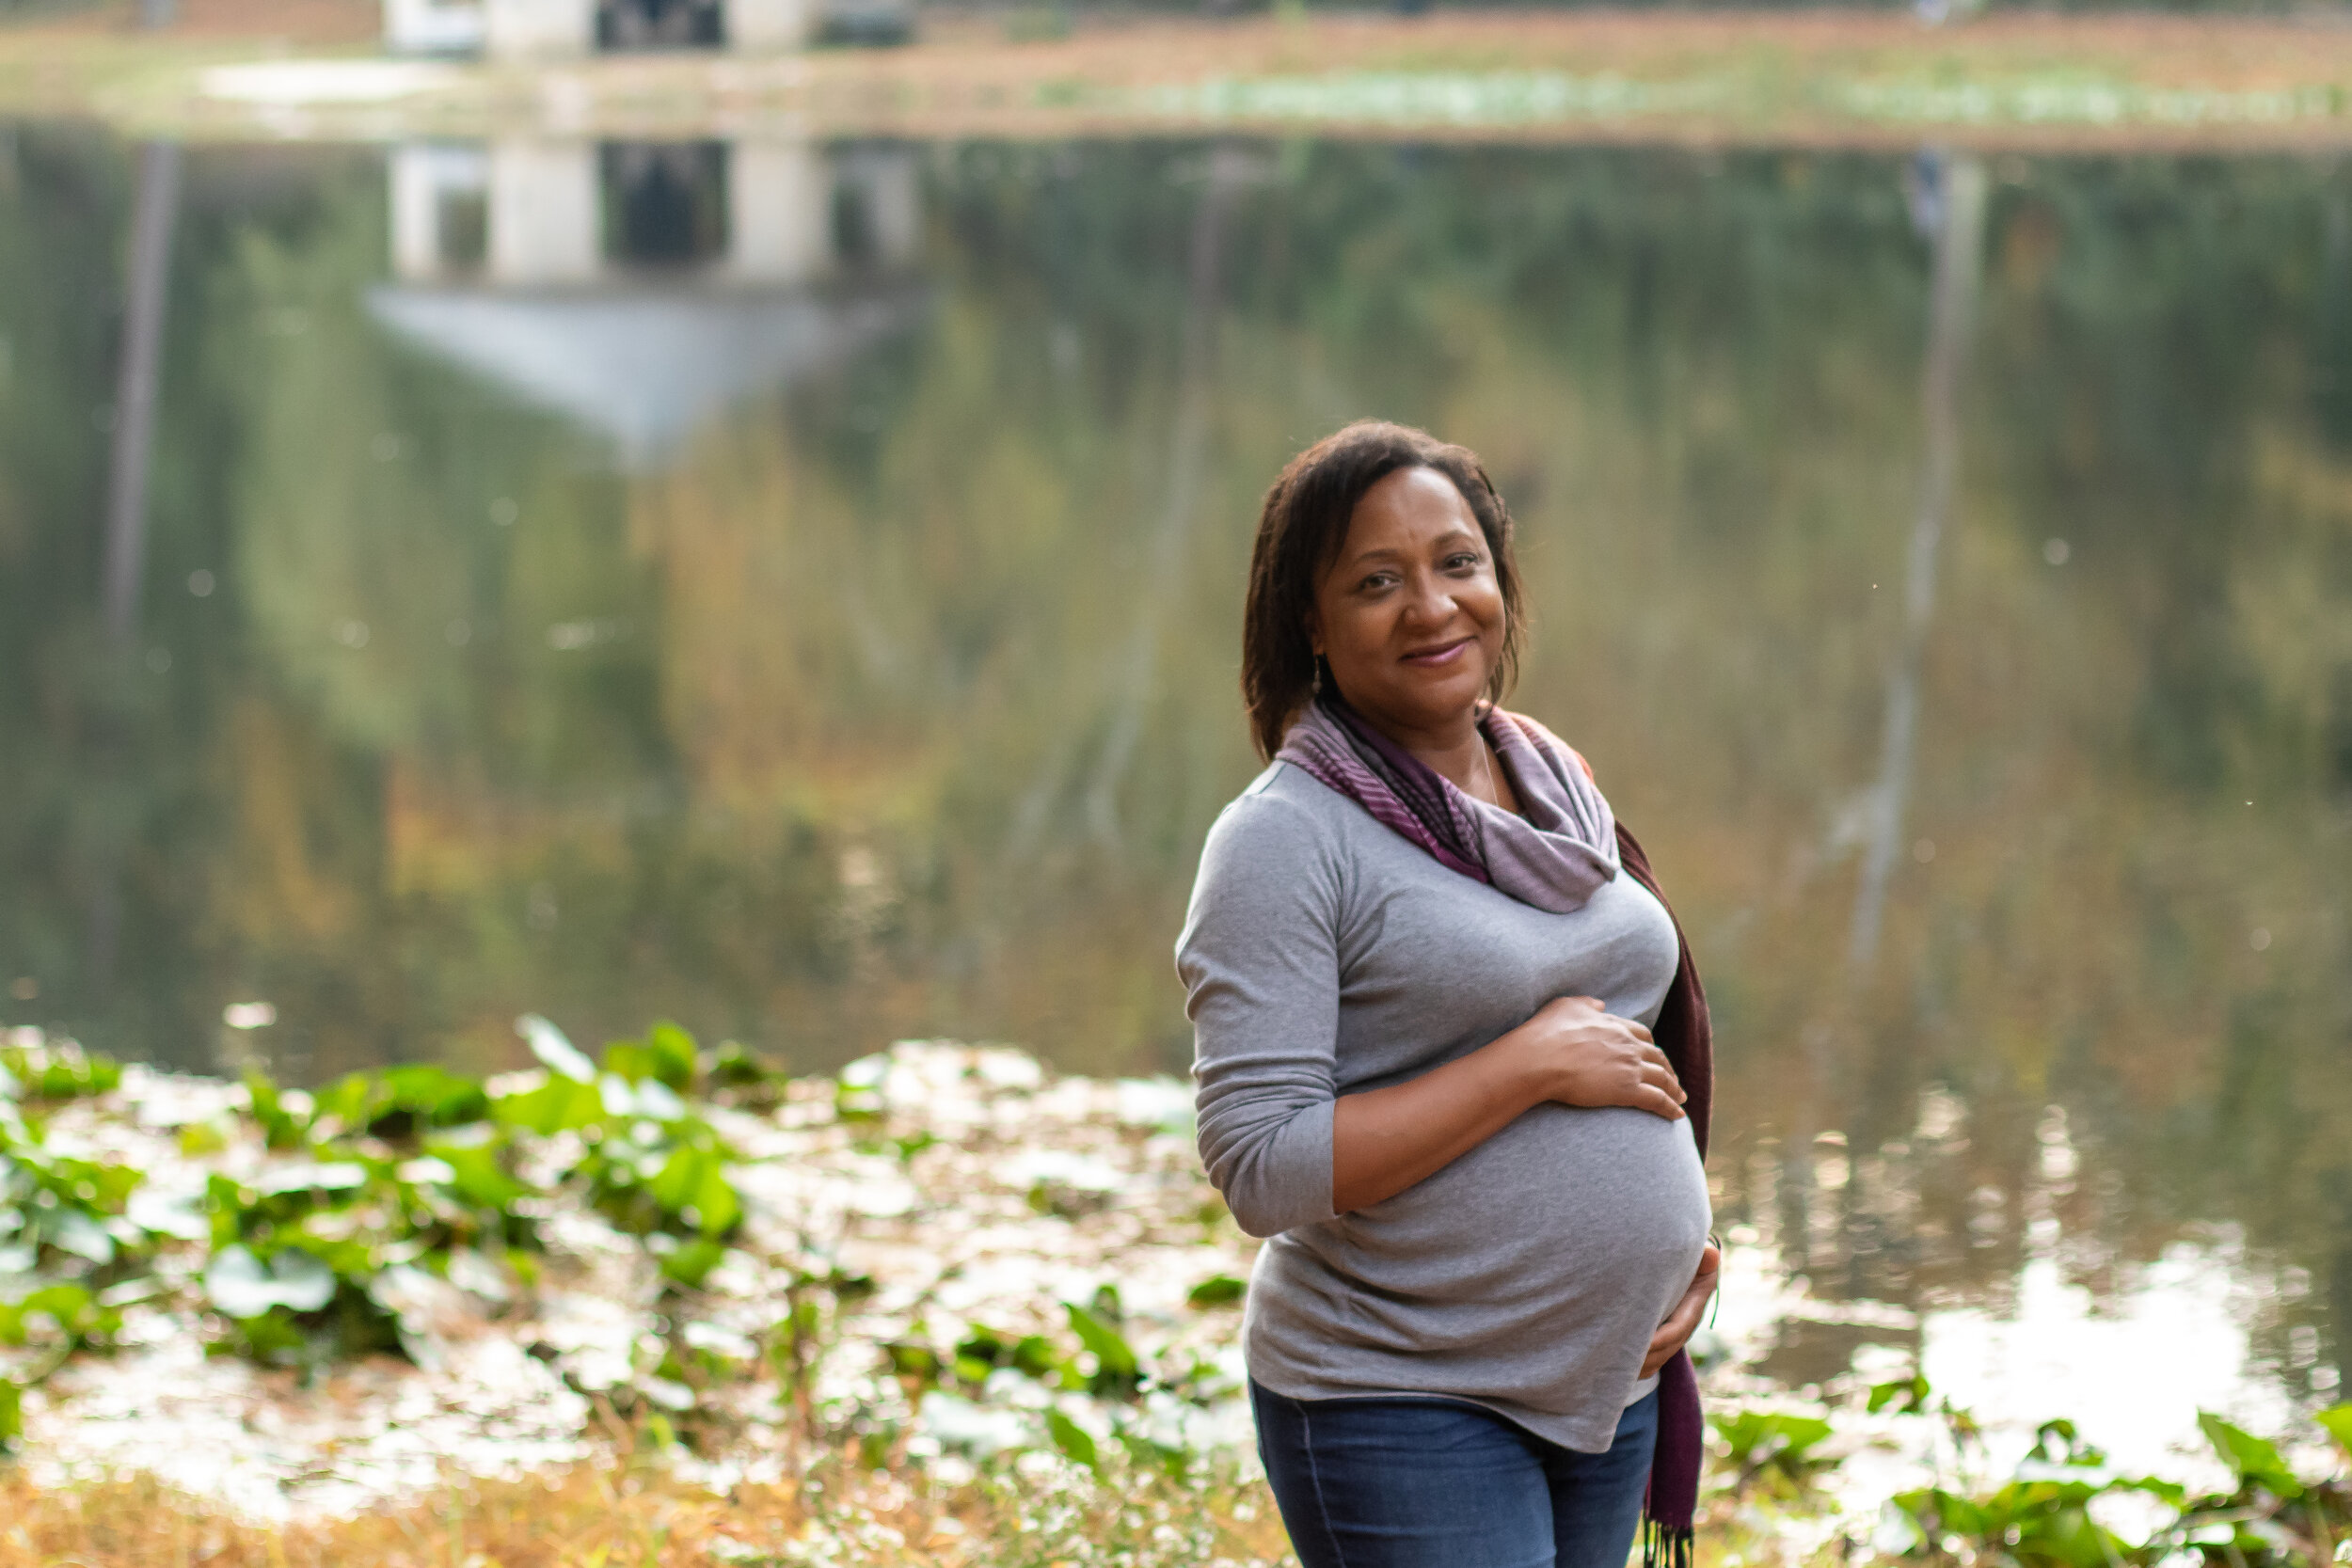
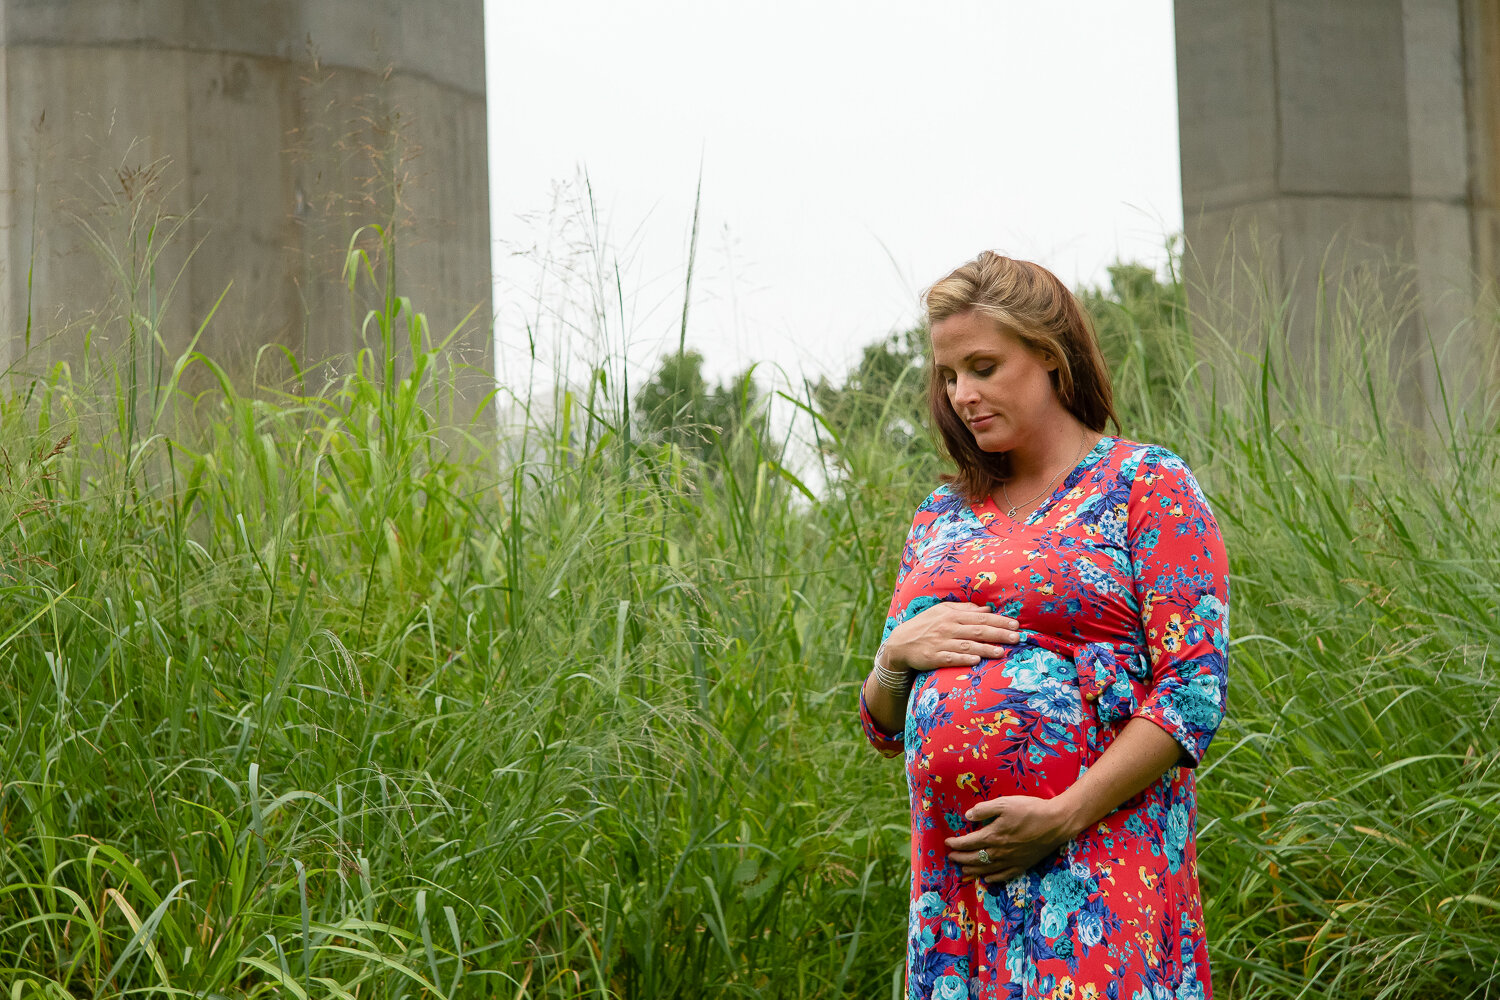
Consider wearing a dress. If you do decide to wear a dress, choose one that accentuates your belly. A flowing skirt with a tighter bodice can be especially flattering on pregnant women.
Wear appropriate undergarments. If you are wearing form-fitting clothes, make sure your undergarments are as visible as you want them to be in your photos.
Consider the weather, specifically temperature. Instead of wearing coats that constantly need to be shed as we shoot, consider layers. Scarves and cardigans are accessories!
Build the family’s outfits around a coordinated color theme for cohesion. Jewel tones, neutral tones, earth tones, pastels, etc.
Remember texture - lace, silk, faux fur, woven textures, etc. can give a lot of extra oomph (technical term) to your images.
Embrace each person’s personality as they dress. Is there an outfit that they just can't live without? Have a toddler who insists on a specific pair of shoes whenever she leaves the house? Tutus and rain boots are welcome.
Don’t:
Choose neon colors - they don’t photograph well.
Pick items with logos or graphics - they don’t age well.
Put everyone in the same matching outfit (black shirts/jeans, blue shirts/khakis, etc).
Wear black - Slimming rumors aside, black tends to show shedded hair and skin flakes more than other colors. Charcoal or navy are slightly less harsh and photograph better, if you want to wear a dark color.
Be afraid of pattern. Choose a smaller pattern that won’t detract focus from the people in the photos. Bigger patterns will accentuate the body part on which they’re being worn.
Shy away from color. Picking up bold colors from a more subtle outfit for a pop of color can look amazing. For example, if Dad is wearing a plaid shirt, draw one color from it and have one child wear that color.
Jewelry: I recommend you remove any tech gadgets (Apple watches, Fitbits, etc). Regular watches can be distracting, so unless they’re specifically being worn for fashion’s sake, you can leave those off as well. Don’t forget necklaces and bracelets though, if that’s your style. Also, make sure your nails are in good condition, because there will be some images that include your hands.
Pockets: Try to keep your pockets as empty as possible. Phone and key bulges can be distracting. Put on chapstick or lipgloss before we start, and then don’t worry about trying to reapply between shots.
Footwear: If we are out and about, wear comfortable shoes that you can move and walk in. If your toes will be exposed, remove chipped nail polish. Unless you’re specifically a Crocs family, I’d steer clear of those. And if we’re meeting at your home, we’ll be team Bare Feet all the way. If you’re very against bare feet, you might consider finding fun socks or slippers for everyone to wear instead, as anything you wear on your feet will be seen in the photos at some point. If white socks are your style, make sure they’re fresh and not stained brown on the bottom.
Pets: If your fur-child is joining us for a session away from your home, remember that RVA and the surrounding counties have leash laws. Make sure that whatever leash you choose for your pet is one that you want to see in your images. I recommend a traditional leash, not a retractable one.
Need more inspiration? Check out my Pinterest board for ideas: what to wear for outdoor sessions and what to wear for indoor sessions, as well as what to wear for maternity sessions.



Session Day!
Day-of-prep checklist:
Time to get excited! Here’s a refresher on that mental checklist.
Make sure everyone (including you) is fed and hydrated prior to our session.
Make sure clothes are stain and wrinkle-free.
Bring an extra change of clothes for anyone in diapers (and maybe anyone potty-training).
If you bring snacks to an outdoor session, make sure they’re not messy snacks.
If it’s a hot day, bring water!
What we’ll do during our session
Don’t worry about watching the clock or filling time, I won’t stop our session if I don’t have all the shots, even if our allotted time has expired. I also won’t waste your time, though. If we get everything we need early, we’ll be all done even if there’s still time on the clock.
If we are meeting at a park, we’ll start by walking around. We’ll chat, and I’ll let the flow of the session take over a bit as well. We’ll stop here and there at spots that I think look interesting, or where the light is pretty, and I’ll give you some easy directions for flattering poses and to encourage connection.
If we’re at home, we’ll start by finding the room(s) with the best light, and then choose our activities accordingly. If you have older kids joining us, they’ll help dictate what we do, and we’ll incorporate them into our time together.
Kids and Photos
Wherever we meet, you are off the hook for trying to get your kids to smile for photos. “Cheese” is not a word we’ll use.
Some kids see the camera and are instantly ready for their close-up. They like to have their picture taken, they want to see the back of the camera (and I may oblige once or twice), and they’re all about it.
Others see a stranger with a camera (and a mask, if we’re indoors) and get insta-shy. They bury their head in their parents’ shoulders, and can’t bear the thought of being cooperative for a photo.
This is okay.
We don’t need perfectly smiling kids to get beautiful images of this time of your life (and if we’re honest, they may not be authentic photos if they’re all smiling anyway). No need to stress. If the whole session is a complete disaster, we can reschedule and try again.
Adults and Photos
Not all adults are gung-ho about having their picture taken, and I get that. My own spouse is less than excited to have his photo taken, and when asked how I could help him get excited, he adamantly declared, “There’s nothing you can do to get me excited about having my picture taken.”
Don’t fight it.
We don’t need everyone to be giddy in order to have a wonderful session. Let your adults manage their own feelings, and allow them to cooperate in the best way they know how. We don’t need everyone smiling (or even looking) at the camera to make a beautiful, connected family photo.
After the Session
After your session I’ll cull our images down to the very best of the best (typically between 25-30 images for a 30 minute session, or 50-60 for an hour-long session), then edit those images and get them uploaded into your online, password-protected gallery. Once they’re ready, I’ll email you your slideshow link.
When you get your slideshow link, I encourage you to make the most of it! Open it up on your TV or a large computer screen, gather the family ‘round, turn up the volume, and pass the tissues. The first time you see your photos is always the best.
If you’re doing a full, 60-minute session, you’ll have 24 hours to choose a collection once you open up the slideshow. Once you’ve selected and paid for your collection, your gallery will open for 30 days, pre-loaded with your print credit and set for you to download the number of files that corresponds with your collection.
If you’re doing a 30-minute, add-on maternity session, your gallery will be open with the set number of images you can download. You can purchase more images and use your print credit in that same gallery.
The Carytown Collection - $1100
A complete set of all of the high resolution, edited digital files from our session with print release (50+ photos)
$500 print credit good toward your choice of anything in the gallery store: prints, canvases, albums, additional digital files, etc.
The Short Pump Collection - $900
Choice of 30 high resolution, edited digital files with print release
$250 print credit good toward your choice of anything in the gallery store: prints, canvases, albums, additional digital files, etc.
The Shockoe Collection - $700
Choice of 15 high resolution, edited digital files with print release
$100 print credit good toward your choice of anything in the gallery store: prints, canvases, albums, additional digital files, etc.
Downloading your image files:
You can use the Favorite (star) option to help you decide which images you want to download. Once you have favorited images, your favorites will populate at the blue banner at the top of the store. You can click the Favorites link to see all of your favorited images and then add or remove until you have the number you’d like to download using your download credit.
Once you’ve decided which images you’d like to use for your download credit (no need to choose if you go with The Carytown Collection), go ahead and download them before you forget! You can download them directly from the Favorites gallery, or the full gallery. In either gallery, hover over the photo you want to download and see the download icon pop up at the bottom of the image. Or, you can click on the individual image and click download once the image opens.
See the tiny star in the upper right corner of the photos?
This one is marked favorite here at the bottom of the photo.
Copyrights (and wrongs)
Once you’ve got your digital files in hand, you are free to print them when, where and as often as you wish - you can use them to make holiday cards, share on your social media pages or personal blog, etc. The only things you can’t do are related to the resale of your photos or use for commercial or business purposes. For instance, if you authored a book, you’d need additional permission to use one of the photos on the dust jacket, and you wouldn’t be able to enter one of the photos into a contest and win prize money for it. Otherwise, you’ve got free reign.
While everything that I offer in my store is printed in professional labs and guaranteed to be high quality, I also recognize that you may want to print your images yourself, and thanks to those digital files, you absolutely can! I recommend Richmond Camera for local printing and mpix.com for online prints. Be sure to de-select any color correction options, and be sure to upload the original files you downloaded, not copies. The files you receive from me should allow you to print up to 20x30” at minimum.
Printing your images
Ideas for how to use your print credit
Professional Lab Prints
Your favorite images, printed by an RVA small business professional lab on a smooth, textured photographic paper that hides fingerprints and smudges and shows colors true-to-life.
Available in a variety of sizes, and perfect for framing and hanging on the wall, or giving as a gift to family.
8x10 / $10
11x14 / $20
16x20 / $55
Mounted Prints w/ Bamboo Easel
5x7" prints, printed by an RVA small business professional lab on smooth, textured photographic paper and mounted on a black, lightweight board to make the print stiff and easy to display. Presented with a sustainable bamboo stand in a cool-toned walnut finish for displaying on a shelf or your desk.
5x7 / $40
Lay-Flat Albums
Custom albums are printed on true photo paper in a smooth, semi-gloss finish, which shows off excellent skin tones and accurate color.
The lay-flat binding allows for seamless, panoramic viewing of your session photos.
Choose from fabric, faux leather, or a favorite session photo for the cover of your album. Fabric and leathers are debossed with silver foil text, while the photo cover has the option of adding title text on the spine.
10 spreads (20 pages) are included in the price below. 20 spread albums are also available, and additional spreads (2 pages per spread) can be added for $25 each.
8x8 / $255
8x12 / $305
Bamboo Panels
Your image is printed on smooth, textured photographic paper and then mounted on sustainably harvested bamboo.
The distinctive bamboo pattern is exposed along the edge of the panel, at 3/4” deep, and adds a touch of outdoor flair to your art.
Bamboo panels arrive ready to be displayed, with a carved out keyhole on the back for hanging.
8x8 / $115
12x12 / $205
16x24 / $450
24x30 / $775
I’m here for you.
I hope this is a helpful resource for you as you prepare for your session, and consider how to use your images afterwards. Let me know if you have any questions or concerns that aren’t addressed here!
I can’t wait for our session!


